Cluster Connections
Connecting to a Cluster
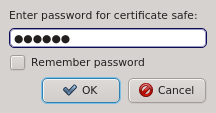
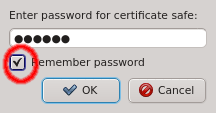
When starting qluman-qt, it requests the password for your certificate safe. This safe
holds the login information for your clusters together with the private keys for the
corresponding QluMan user account. The password for the certificate safe is required on every
start and whenever changes to the safe need to be written. You can have the client remember the
password for the duration it is running by checking the Remember password check-box. Without
enabling this, you will have to input the password again, whenever changes to the safe need to
be written. If you are starting qluman-qt for the first time and therefore have no
certificate safe yet, this dialog is skipped and an empty Connect Cluster dialog opens
directly. See Adding a new Cluster below about how to add a new cluster.

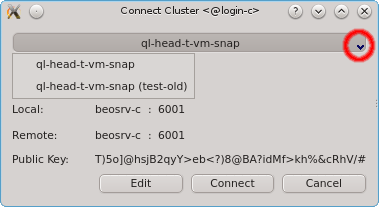
Having entered the correct password for the certificate safe the Connect Cluster dialog
opens. The last cluster used will be pre-selected but a different cluster can be selected from
the drop-down menu. Click the Connect button to connect to the selected
cluster. If this is the first time you connect to this cluster, the client generates a random
public/private key pair. These keys will eventually be used for permanent authentification of
the chosen user with this cluster. Following this, a connection to the server is made with an
attempt to authenticate the client using the one-time token. On success, the server stores the
public key of the client for future logins and the client stores both the private and public
keys in the certificate safe. This finalizes the initial handshake.
|
The GUI client asks for the password of the certificate safe to store the generated public/private key pair. It will only do so, when you initially connect with a one-time token. For future connections, it will use the stored key pair to connect and authenticate. The safe contents will then not be changed again. |
Connection Status
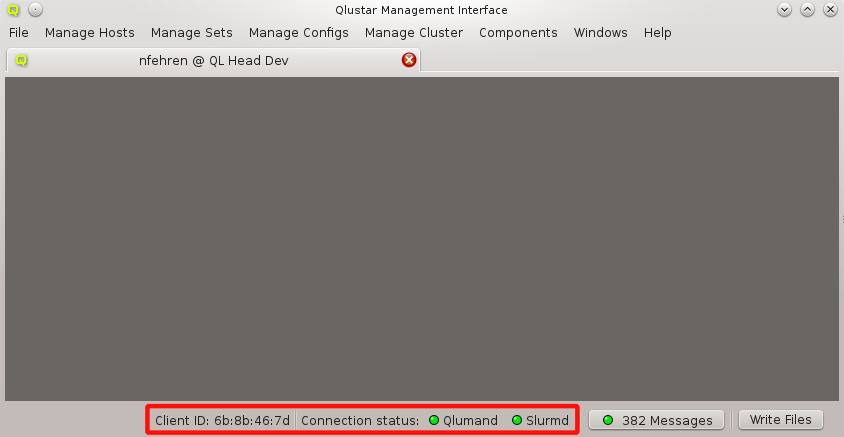
The status of the network connection between a GUI session and the relevant QluMan server
components (qlumand, qluman-slurmd, etc.) is displayed by LEDs in the status bar of the main
QluMan window. The QluNet internal network client ID is also listed there.
Online Version Check
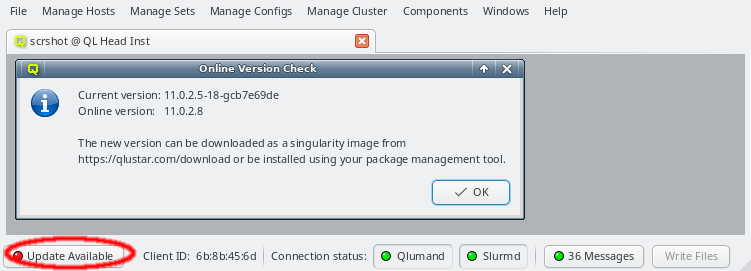
When starting up, the QluMan GUI will check whether there is a newer QluMan version available for download. If a newer version is found, or the major version currently in use is no longer supported, a button Update Available will appear in the lower left corner of the main window. Clicking on it will show more details about the version currently in use and the one available for download.
Managing Clusters
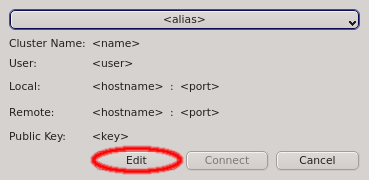

The Manage Clusters dialog manages all your accounts on different clusters or as different
users on the same cluster. It allows adding new cluster connections, editing existing and
removing obsolete ones as well as changing the password for the certificate safe. It can be
opened by clicking Edit in the Connect Cluster dialog.
Adding a new Cluster
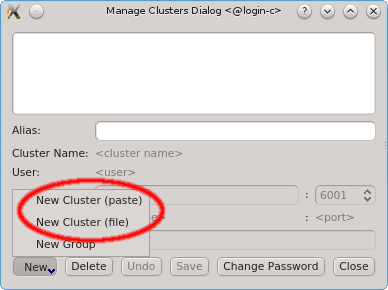
To add a new cluster click the New button and select New Cluster (paste) or New Cluster (file) from the menu depending on whether you want to paste the one-time token or load it from a file. If you don’t have a one-time token for the cluster see Generating the Auth Token.
Paste the one-time token data into the dialog and click Decrypt or select the file containing the token. When asked for the password, enter the pin
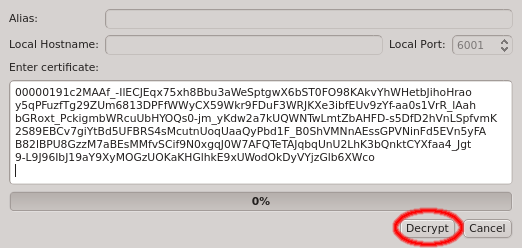
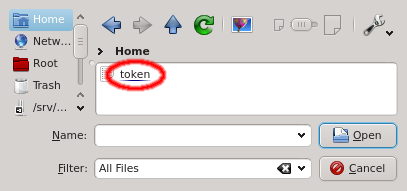
that was used when creating the token (in case you didn’t generate the token yourself, you
should have been told the pin by your main cluster administrator). The dialog should then show
the cluster/head-node infos that where packed into the one-time token. If you started
qluman-qt on your workstation, then you might have to change the Local Hostname to use the
external hostname of the head-node. Similarly, if you changed the port for qlumand or if you’re


connecting via port forwarding, you have to adjust that too. The Alias is the name this
cluster will be shown as, when using the drop-down menu in the Connect Cluster dialog. Click
Ok to add the cluster connection.
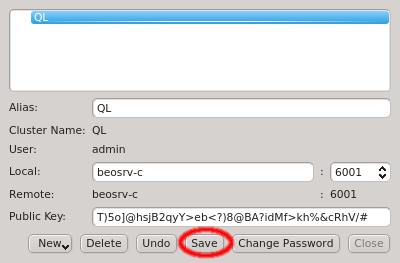
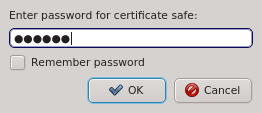

After adding the new cluster select Save to save the changes. If this is your first cluster then it will create the certificate safe and ask you to enter and confirm a password. Otherwise it will ask for the existing password unless the Remember password check-box was enabled.
Sorting multiple clusters
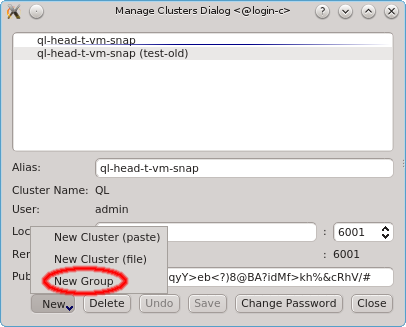

If multiple cluster connections are registered, the corresponding entries can be reordered
using drag&drop. This allows to move them to the desired location in the list. Clusters can
also be grouped in sub-menus by first creating a new group (sub_menu) and then dragging cluster
entries into it. The tree structure of the Manage Clusters dialog will be reflected in the
drop-down menu
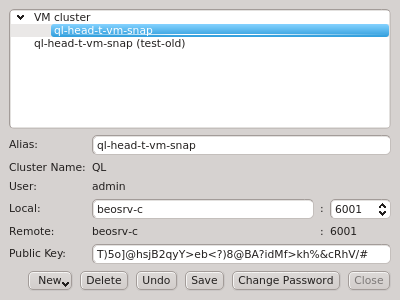
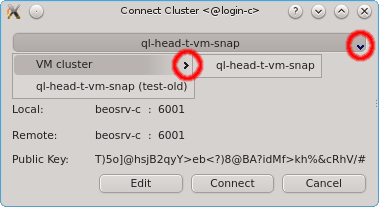
of the Connect Cluster dialog. This allows a nicely structured layout when dealing with a
larger number of clusters as e.g. in the case of service providers. Standard cluster admins
will most likely not need this feature.
Changing the certificate safe password
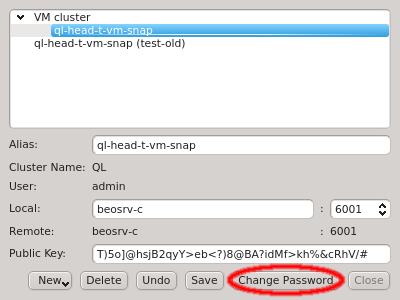

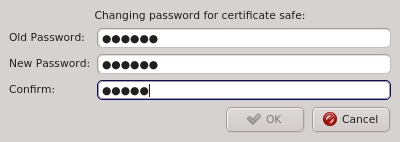
The Manage Clusters dialog allows changing the password for the certificate safe. This
requires entering the old password for the safe as well as the new password and a confirmation
of the new password. The Ok button will only be selectable if the new password
and confirmation matches.