QluMan User and Rights Management
Overview
QluMan is multi-user capable and provides an interface to configure and control users as well
as their permissions when they work with QluMan. The QluMan users are not connected to system
users in any way. To simplify permission management, the concept of user roles can be
used. User roles allow to pre-define a collection of permissions for QluMan operations. Once
defined, they can be assigned to a user.
Managing QluMan Users
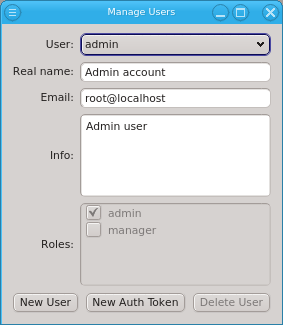
The admin user is pre-defined and has the admin role, meaning all possible rights. Roles
for the admin user can not be changed, just like the root user in a Linux system always has all
rights. When running QluMan for the first time, you should set the correct email address for
the admin user.
Adding a User
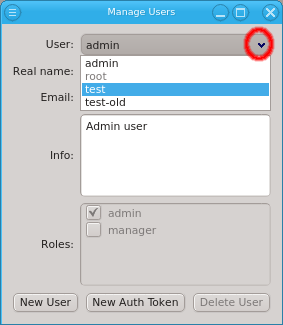
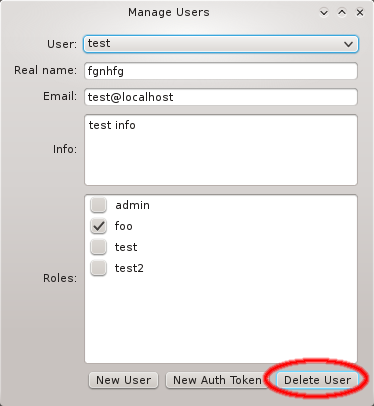
To create a new user, click New User and enter the name for the
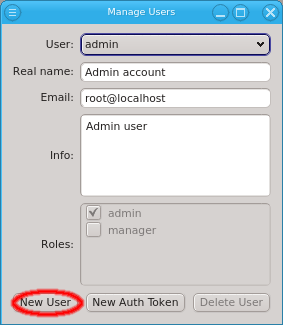

new user to create it. Then select the user from the drop-down menu and fill out the remaining fields. The changes will be saved automatically when Enter is pressed or the input field looses the focus. New users have no roles assigned to them and will have no rights to change something. They can only inspect the cluster config (read-only mode). See Managing User Roles/Permissions for how to create new roles and assign them to the user by checking the respective check-boxes. If the
New User button is not selectable, then the user lacks sufficient rights to create new users. The Roles buttons will then also be disabled, preventing an unauthorized user from giving himself or others extra roles.
Generating the Auth Token
A new user also lacks login credentials, so initially, he can’t connect to QluMan. Hence, the
next step is to generate a one-time token for the user, by clicking New Auth Token.
Generating the one-time token may take a little time to finish and happens before the New Auth
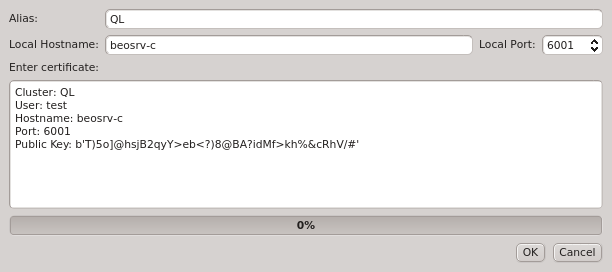
Token dialog opens. The dialog shows a certificate containing the

generated one-time token, as well as the other login information required to connect to the server. The certificate is protected by an auto-generated 8 digit pin, so that it can be transferred over unencrypted communication channels like e-mail or chat programs. In such a case, the pin should be sent over a second, different, communication channel, e.g. reading it over the phone.
|
If a new cluster has been setup, an initial auth token for the admin user needs to be generated on the cmdline of the cluster head-node. This is explained in detail in the Qlustar First Steps Guide. |
As a special case, when a user clicks New Auth Token for himself, the generated token is imported into his running client and replaces the current login credentials. A reconnect of the GUI client is then triggered automatically. It forces the client to generate a new random public/private key pair and use the new one-time token to authenticate itself to the server. This procedure should be used to invalidate the old keys and replace them with fresh ones, in case a user suspects the certificate safe might have been compromised by an attacker.
The New Auth Token dialog also has 3 useful buttons at the right bottom corner. The
Import button allows adding the certificate directly to the running client. The
use case for this is when creating a user account for oneself when working as admin. It is
recommended, that for clusters with multiple users having the admin role, that every user has
his own user account and the admin user is only used to initially create the new users.
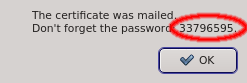
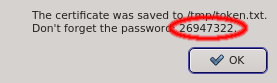
The Save button allows saving the certificate into a file and the Mail button sends the certificate to the email configured for the user. In both cases, only the certificate is saved or mailed and the password needs to be send separately.
For optimal security, it is recommended to leave a new user without roles, until he has logged in using the one-time token. That way, if the certificate was intercepted, it will be useless to an attacker, since he won’t be able to perform any actions within QluMan. Also, if the attacker manages to intercept and use the certificate before the real intended user does, the real user won’t be able to use it anymore, and notice that something is wrong, most likely reporting to the main cluster administrator.
|
The certificate contains the connection information of the cluster and the public key of the
On the first login with a correct one-time token, the client’s public key (generated randomly and uniquely for the cluster/user pair) is stored by the server and used to authenticate the user in the future. When establishing a connection, the client’s and server’s public and private keys are used, to safely exchange session keys enabling encryption with perfect forward-security. |
Managing User Roles/Permissions
The QluMan server performs many individual rights checks, before it allows/performs an
operation. Many of those correspond directly to a specific window in the GUI, giving the user
the right to alter settings in that window. For example, the right to configure Qlustar images
corresponds directly to operations available from the Qlustar Images window opened from
. Others govern the right to specific actions or to alter
specific properties. For example, the right to configure OpenSM on hosts, enables the user to
add, alter or delete the OpenSM Ports and OpenSM Options property of hosts in the
Enclosure View.
The rights are grouped into 4 categories: Admin rights covers rights with global impact and
root access to nodes, Booting covers all settings that affect how nodes will boot, Services
covers the configuration of daemons and Host Config covers the general configuration of
hosts.
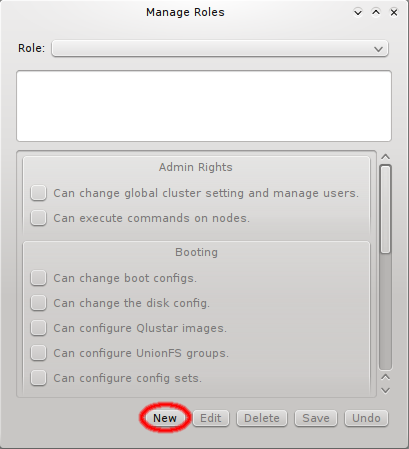
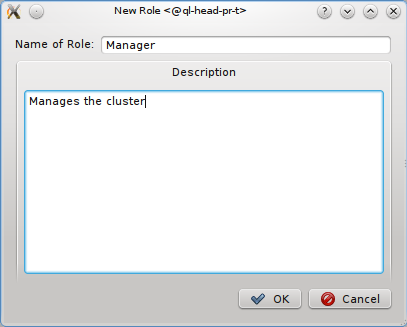
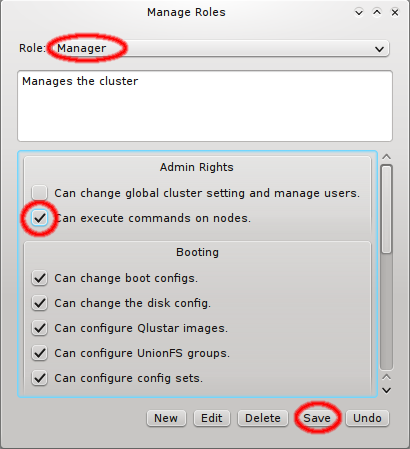
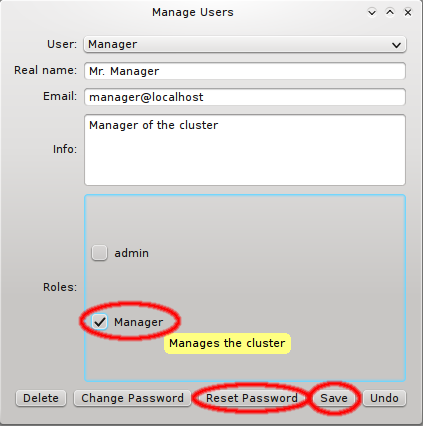
Creating and editing roles is simple: Click New to create a new role, fill in a name and description for it and click OK. To change the rights associated with a role, first select it using the dropdown menu at the top. Next, click the checkmark boxes to the left of the rights you want to change, grant or remove from the role. Click Save, to save the changes, or Undo to reset the rights to the last saved settings.