Other Configs
Qlustar OS Images
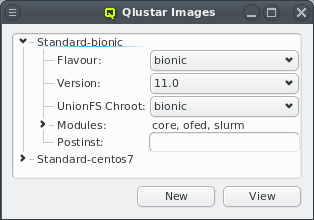
Qlustar OS images can be defined and configured in the Qlustar Images dialog accessible via
Manage . Each image has a unique name, a flavor (e.g. bionic), a
version, an optional chroot and one or more image modules.
Image Versioning
Currently available image versions are 11, 11.0 (all meta-versions) and 11.0.0. Note, that
selecting meta-versions (like e.g. 11) has implications on the update process. They allow
tracking the newest x.y (x.y.z) releases automatically. Example: If you have installed version
11 of the modules, you will currently get the 11.0 (most recent 11.y) versions, but if a 11.1
would become available, apt-get dist-upgrade will update to 11.1 versions automatically. So
with this choice, updates will usually include larger changes, since new feature releases
(like 11.1) will automatically be installed.
Similarly, if you have selected the 11.0 version (currently default after a fresh installation)
you will currently get 11.0.0 (most recent 11.0.z version) and apt-get dist-upgrade will
update the modules/images to 11.0.1 automatically once available. So this choice will update to
new maintenance releases automatically. The most conservative choice would be to explicitly
select a x.y.z version (currently 11.0.0), since then images will only receive bug fix updates
without explicitly changing the version in Qlustar. See also the discussion in the general
Qlustar Update Guide
Image Properties
A couple of images are pre-defined during the installation process. The dialog shows the images
sorted by their names. Expanding an entry shows its configuration and allows to select a
UnionFS chroot via the drop-down menu. Each image contains at least
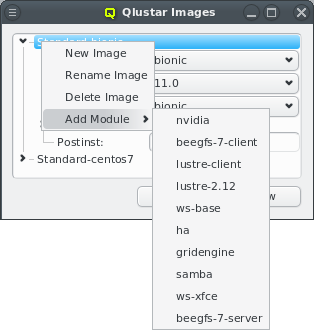
the core module. Additional modules can be added or removed using the context menu when
hovering over an entry. Only modules that are not already chosen are available for selection.
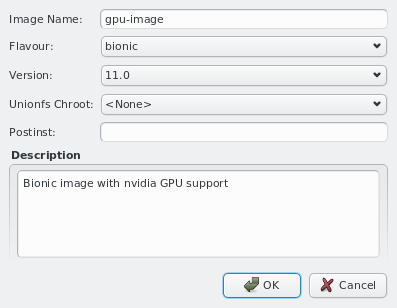
New images can be added through the context menu or by pressing the New button at the bottom of the dialog. Like before, you should then enter the name for the new config, choose a UnionFS chroot and optionally provide a description for the new image. Existing images can be removed via the context menu.
SSH host files
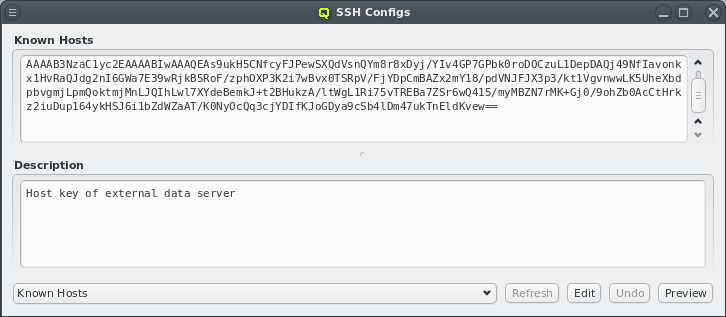
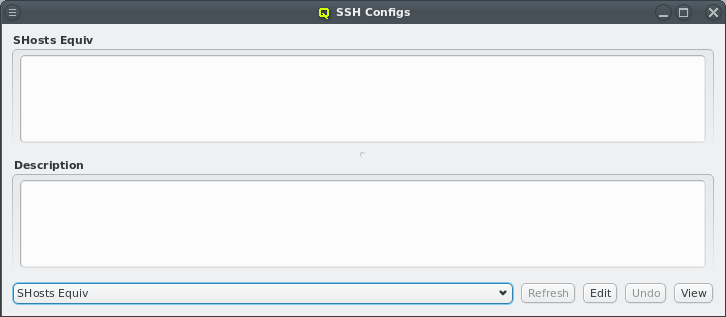
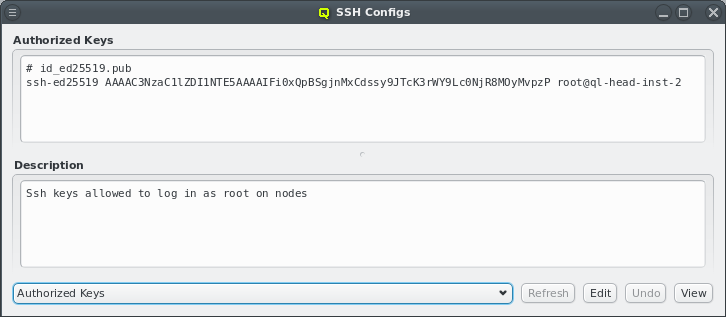
To simplify ssh remote logins to cluster nodes, three ssh configuration files are provided and
managed by QluMan: (a) ssh_known_hosts (holds ssh host keys of cluster nodes), (b)
shosts.equiv (enables login without password between machines within the cluster) and (c)
authorized_keys (used to allow password-less root login to nodes with the specified ssh
public keys).
The first two config files consist of a configurable header part, where additional hosts can
freely be entered and an auto-generated part for the hosts managed by QluMan. The
authorized_keys one just has the configurable part.
|
The auto-generated part includes the optional hostname override and aliases for all networks of
a host. The default headers for |
Management of the three configs is similar to the NIS hosts dialog: To edit the header part
of either config, select from the main menu. Then choose the
config to work on by using the drop-down menu at the bottom left and press Edit. The top
part of the window popping up can then freely be edited. When done press Save. Finally,
the resulting ssh host files can be previewed and written to disk by pressing the corresponding
buttons at the bottom of the dialog.
|
There is no preview of the |
UnionFS Chroots
In most practical cases, a Qlustar image should be configured with an associated UnionFS
chroot. Exceptions are single purpose images e.g. for Lustre servers. By design, images are
stripped down to the functionality (programs) that is most often needed on a compute/storage
node. This keeps them small while still providing fast, network-independent access to
programs/files typically used.
To complement the image and provide the full richness of the packages/programs available in the
chosen Linux distribution, the UnionFS chroot (holding a full installation of e.g. Ubuntu) is
exported via NFS by one of the head-nodes and technically merged below the content of the
Qlustar OS image. In practice, this means that all files belonging to the chroot will be
available on the nodes configured to use the chroot, but if a file/program is also in the
node’s image, that version will be used. Hence, this method combines the compactness and
speed of the imaging approach with the completeness of a full OS installation to give you
the best of all worlds.
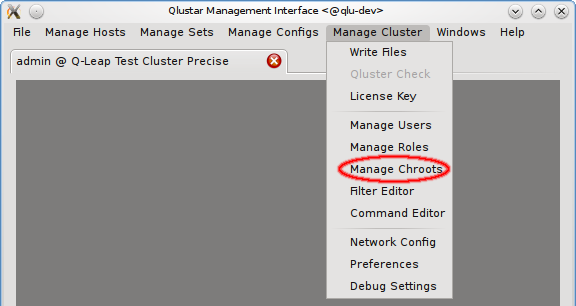
As explained before (see Qlustar OS Images), the chroot associated
with an image is easily selectable via the Qlustar Images dialog. The management of the chroots
themselves is possible via the Manage Chroots dialog. It is accessible via the main menu at
and provides a number of actions related to
chroots. Manipulation of the contents of chroots is explained
elsewhere.
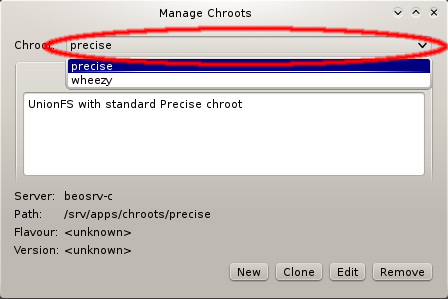
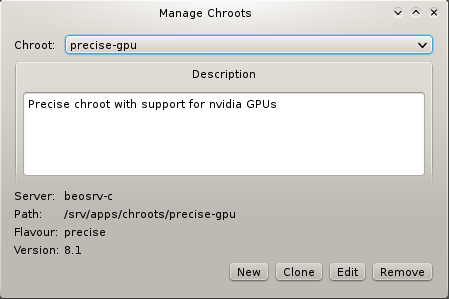
To specify a chroot to operate on, select it via the corresponding pull-down menu. This will show its description, as well as its properties like the NFS server that serves it, the filesystem path on the server, the flavor (edge platform, trusty/wheezy/…) and the version of the Qlustar feature release (always being of the form x.y, e.g 11.0).
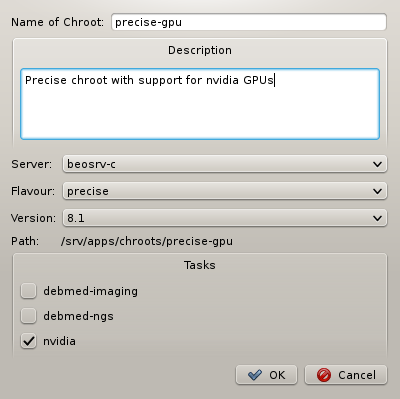
When generating a new chroot, a name for the chroot must be specified and optionally a
description of its purpose. Furthermore, you can select an NFS server where the chroot will be
located (currently only one option), a flavor (aka edge platform) and Qlustar version. Finally
you have the possibility to select Qlustar tasks. These are topic package bundles, each
consisting of a collection of packages relevant to a certain field of HPC
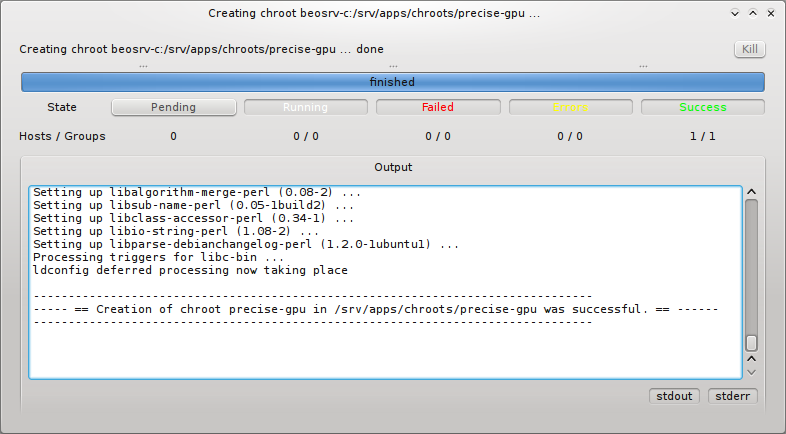
applications. Pressing the OK button then starts the generation of the
chroot. You can follow the rather lengthy process (count a couple of minutes) in its own
window.
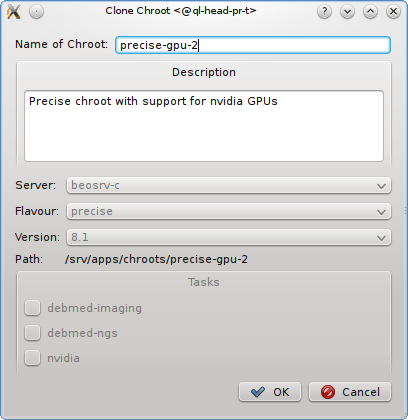
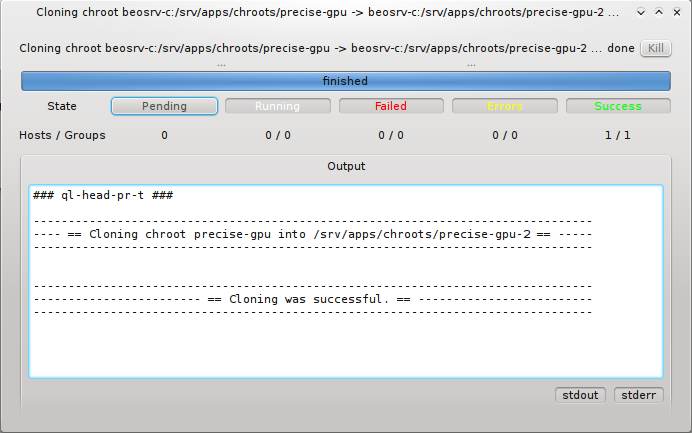
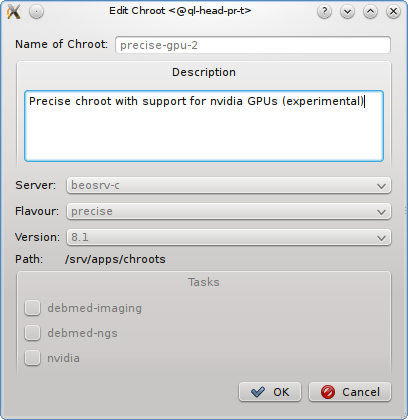
Cloning an existing chroot is mostly useful when you want to test an upgrade to a new release or for other tests. Pressing the Clone button, opens a sub-window in which you can specify the name of the new cloned chroot and optionally a description of its purpose. Pressing the OK button then starts the cloning process. You can again watch this in its own window. Editing a chroot allows to modify it’s description.
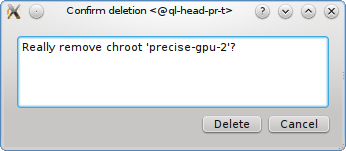
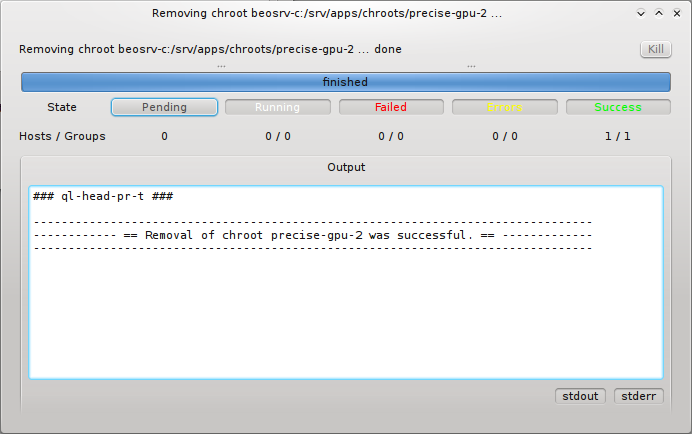
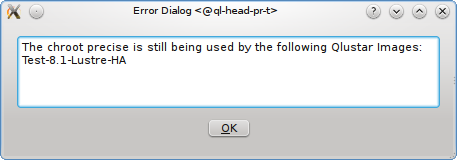
Removal of a chroot, by pressing the Remove button, first asks you for a final confirmation. If you then press the Delete button, the chroot will be removed provided it is not still in use by a Qlustar image. If it is, a list of images that are associated with the chroot is displayed. You would then first have to reconfigure these images to use another chroot before trying to remove again. Renaming of a chroot is not supported directly. To rename, you’d have to clone the original chroot, giving the clone the new desired name and afterwards remove the old chroot.
Root FS Customization
Sometimes it is necessary to have node OS image customizations that take affect in the node’s
boot
process before systemd starts. For this, Qlustar provides the Root FS Customization config
class. Each config is associated with a directory located on the head-node(s) under
/var/lib/qlustar/root-fs. All files and directories below that directory are transfered to
the node during the pre-systemd boot phase. To support more complex customizations than just
adding/overwriting files, scripts placed under lib/qlustar/init.d will be executed in
alphanumerical order.
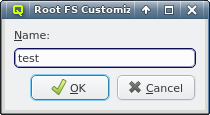
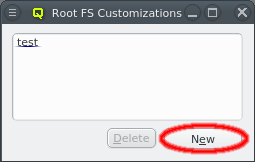
A new Root FS Customization config can be created by clicking the New button and
entering the name for the new config. This creates the corresponding subdirectory under
/var/lib/qlustar/root-fs/<config name> on the head-node(s). Files and directories can then be
created below that path.
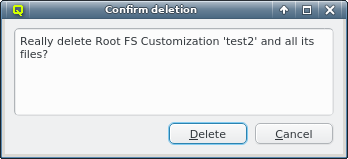
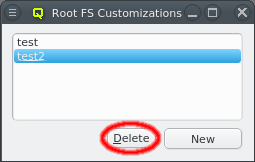
A Root FS Customization config can be deleted by first selecting the config and then clicking
the delete button. Beware, that this will delete all files and directories under
/var/lib/qlustar/root-fs/<config name> on the head-node(s).